Table of Contents
ToggleKey Takeaways
- Methods for Color Coordination
- Implementing the Repair Substance
- Setting and Drying Duration
- Final Adjustments Post-Repair
- Care Instructions for Fixed Sections
- When to Seek Expert Assistance
- Expense Factors for Chip Restoration
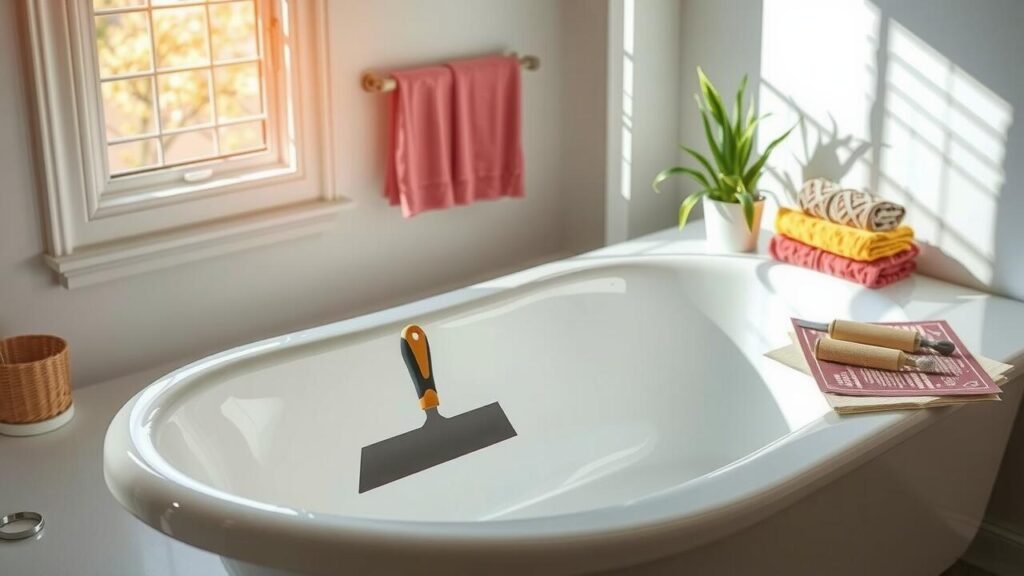
Detailed Instructions for a Flawless Finish
Start by cleaning the chipped area thoroughly to remove any soap scum, dirt, or debris. Use a non-abrasive cleaner and a soft cloth to gently scrub the surface. After cleaning, inspect the damage to assess the size and depth of the chip. If the chip is small, a repair kit containing filler, colorant, and applicator tools is usually sufficient. For deeper chips, consider using multiple layers of filler to ensure even coverage and a smooth finish.
Once the area is prepped, follow the instructions on your repair kit. Carefully apply the filler with a spatula or small applicator, ensuring that it fills the chip completely without overflowing onto the surrounding surface. Use a sanding block to smooth the area after the filler has dried, blending it seamlessly with the surrounding surface. For an optimal finish, a matching topcoat may be required. Allow each layer to cure as recommended, ensuring the best adhesion and appearance.
Techniques for Color Matching
Achieving the perfect color match is essential for a seamless repair job. Start by gathering the necessary tools, including color swatches, a color wheel, and samples of the original finish. Observe the surrounding area closely to identify the dominant hue and undertones present. Mix various shades of repair material to mimic the original color, testing small amounts on an inconspicuous spot before final application.
Once a suitable match is found, it’s important to consider the finish as well. Bathtubs may have a glossy or matte surface, and this affects how colors appear under different lighting. Applying clear coats or finishing sprays can enhance the luster and ensure the repair blends with the rest of the tub. Allow this final layer to dry thoroughly before assessing if further adjustments are needed.
Ensuring a Seamless Appearance
Achieving a seamless appearance in chipped areas of a bathtub is essential for both aesthetic reasons and overall durability. Start by carefully assessing the damaged section and ensuring it is clean and free of debris. Proper sanding around the chip edges can help create a rough surface that allows the repair material to bond better. Take time to feather the edges of the repair area so that it blends smoothly with the surrounding surface. This preparation lays the groundwork for a flawless repair, minimizing the visibility of the chip after the application of the repair material.
Once the area is prepared, color matching becomes a critical step. Selecting the right shade that closely mimics the original bathtub color will enhance the final result. It is advisable to test the color on a small, inconspicuous area first before applying it directly to the repair. This may involve blending different tones to achieve a precise match. Pay attention to the surface texture as well, as a smooth, glossy finish can further disguise the repair. By following these steps, you increase the likelihood of achieving a result that appears natural and professionally done.
Applying the Repair Material
Before applying the repair material, ensure that the surface is clean and dry. Use a sponge or a cloth to remove any debris, grease, or dust from the chipped area. A clean surface prevents contaminants from interfering with the adhesion process. Once the area is prepped, carefully mix the repair compound according to the manufacturer’s instructions. This step is crucial for achieving the desired consistency and performance of the material.
When ready, use a small applicator or putty knife to spread the repair material over the chip. Apply it evenly, making sure to fill the area completely without leaving any gaps. Smooth the edges to blend seamlessly with the surrounding surface. Take your time during this process to achieve an even coat, as imperfections at this stage can affect the final appearance. After application, allow the material to set as per the guidelines provided before moving on to further refinishing steps.
Tips for an Even Application
Achieving an even application of repair materials requires careful attention to technique and equipment. Use a high-quality paintbrush or a small foam roller designed for smooth finishes. These tools help to minimize streaks and provide a consistent coat. Ensure the brush or roller is clean and free from any old paint or debris before starting. Apply the repair material in thin layers, gradually building up to the desired coverage. This method helps to reduce the risk of drips and uneven surfaces.
Additionally, working in manageable sections can enhance your results. Focus on one area at a time to maintain control over the application process. Always keep a wet edge while applying, as this prevents visible lines from forming as the material dries. After each layer, allow adequate time for drying as recommended by the manufacturer. Lightly sand between layers if necessary to achieve a smooth finish.
Curing and Drying Time
After applying the repair material, allowing sufficient curing and drying time is crucial to ensure a durable finish. This period can vary based on the type of product used, environmental conditions, and application thickness. Typically, the material should be left undisturbed for at least 24 hours to achieve optimal adhesion and strength. High humidity or low temperatures may extend this time frame, so it’s important to consider the specific conditions in your bathroom.
Proper curing affects not only the longevity of the repair but also the overall appearance of the refinished area. Rushing this process can lead to issues such as bubbling or peeling. To ensure the best outcome, avoid using the bathtub or exposing it to water during the curing phase. Taking these precautions can significantly enhance the quality and durability of your refinishing work, leading to a more satisfying final product.
Understanding the Importance of Proper Curing
Proper curing is crucial to the success of any chip repair in bathtub refinishing. It allows the repair material to bond seamlessly with the existing surface, ensuring durability and effectiveness. Skipping or shortening the curing time can lead to cracking, peeling, or discoloration, affecting the overall appearance and longevity of the repair. Each type of repair material has specific drying times that are essential for achieving optimal results. Following these suggested timelines can significantly enhance the finish.
Inadequate curing can also expose the repair to moisture and other elements that may compromise its integrity. An essential part of the process involves maintaining a stable environment throughout the curing period. Avoiding direct water exposure and fluctuations in temperature can help secure the newly applied material in place. Proper curing leads to a smoother surface and minimizes future maintenance or repairs, ultimately saving time and costs in the long run.
| Repair Material | Recommended Curing Time | Optimal Temperature | Notes |
|---|---|---|---|
| Epoxy | 24-48 hours | 70-85°F (21-29°C) | Ensure low humidity for best results. |
| Patching Compound | 12-24 hours | 65-80°F (18-27°C) | Allow for even drying to prevent cracking. |
| Polyurethane | 48-72 hours | 70-75°F (21-24°C) | Best cured in a dust-free environment. |
| Vinyl Ester | 24 hours | 70°F (21°C) | Keep away from water until fully cured. |
Finishing Touches After Repair
Once the repair has been completed, it’s essential to focus on the final aspects that will enhance the overall appearance of your bathtub. Inspect the repaired area for any irregularities or noticeable textures. A light sanding might be necessary to ensure that the repaired surfaces blend seamlessly with the surrounding area. Cleaning the surface with a gentle cleanser will help remove any dust or debris left behind from the sanding process.
After the clean-up, applying a high-quality polish can elevate the finish of the bathtub. This not only adds a protective layer but also restores the shine, making the repair less noticeable. When choosing a polish, select one specifically designed for bathtub materials to avoid any damage. The right finishing touches will ensure that your bathtub not only looks great but also maximizes durability and longevity.
Ensuring a Polished Look
Achieving a polished appearance after repairs is essential for ensuring that the bathtub looks brand new. Once the repair material has cured completely, the next step involves sanding the surface to create a smooth, uniform texture. Use fine-grit sandpaper to carefully blend the repaired area with the surrounding finish. This will help eliminate any unevenness and prepare the surface for polishing.
After sanding, it’s important to clean the area thoroughly to remove any dust or debris that may interfere with the polishing process. Apply a high-quality polishing compound using a soft cloth or a buffer. This not only enhances the luster of the surface but also helps to protect it from future wear. Regular polishing can maintain the shine while ensuring that the repaired areas seamlessly blend in with the overall look of the bathtub.
- Use fine-grit sandpaper for a smoother finish.
- Clean the area thoroughly to prevent dust accumulation.
- Apply high-quality polishing compound for better results.
- Use a soft cloth or buffer for even application.
- Regularly polish to maintain the bathtub’s shine.
- Inspect for any imperfections after polishing.
- Follow manufacturer instructions for repair and maintenance products.
Maintenance Tips for Repaired Areas
Maintaining the integrity of repaired areas in your bathtub is essential for prolonging its lifespan. Regular cleaning with gentle, non-abrasive products is critical to prevent any damage to the repair. Avoid using harsh chemicals or scrubbing pads, as these can scratch the surface and compromise the repair work. Soft sponges or cloths are ideal for routine cleaning, ensuring that the repaired areas remain intact and look fresh.
Pay close attention to any signs of wear around the repaired spots. If you notice discoloration or peeling, it may indicate that the repair needs attention. Keeping the bathtub well-ventilated can also help, as excess moisture contributes to degradation over time. Addressing small issues quickly can prevent larger problems from developing, helping to maintain both the aesthetic and functional aspects of your bathtub.
Caring for Your Bathtub Post-Repair
After completing repairs on your bathtub, proper care is essential to maintain its appearance and longevity. Avoid harsh chemicals that can degrade the new surface. Instead, opt for mild, non-abrasive cleaners. Soft cloths or sponges help prevent scratches. Regularly rinsing the tub can also remove any residue that might accumulate over time.
Monitoring the repaired areas is crucial. Inspect for any signs of wear or damage periodically. If you notice any issues, address them promptly to avoid further deterioration. Keeping heavy objects away from the edges will help maintain the integrity of the repair. Regular maintenance can significantly extend the life of your refinished bathtub.
When to Consult a Professional
Not all chip repairs can be tackled as a DIY project. Some damage may require a level of expertise beyond basic knowledge and skill. If you notice chips that are particularly large or deep, or if there are multiple areas in need of repair, it could be wise to seek professional assistance. A trained technician can ensure that the repair is not only aesthetically pleasing but also durable, preventing further damage in the future.
Additionally, if you find that previous attempts at repairs have resulted in uneven surfaces or noticeable color mismatches, consulting a professional may be the best option. They possess specialized tools and materials designed for high-quality refinishing. This expertise can bring a level of sophistication to the repair that is difficult to achieve with DIY methods alone. This also applies to situations where you are unsure about the repair process or lack confidence in your ability to execute the work correctly.
Signs That Indicate Professional Help is Needed
Identifying when a chip repair job exceeds personal capabilities can save time and prevent further damage. If the chips are extensive or the surrounding area shows signs of deterioration, a professional’s expertise may be essential. Attempts at DIY repairs in such cases might lead to uneven surfaces or mismatched colors that are difficult to correct without specialized skills.
Persistent leaks or significant structural issues are also clear indicators that it’s time to seek help. A professional can address potential underlying problems causing the chips. Their experience ensures not only cosmetic fixes but also the integrity of the entire bathtub surface.
Cost Considerations for Chip Repair
Chip repair in bathtub refinishing can involve a variety of costs, depending on several factors. The extent of damage is a primary consideration; larger chips or multiple areas requiring repair will generally incur higher expenses. Additionally, the choice of materials and tools needed for the job can significantly influence the overall budget. Budgeting for repairs means accounting for not just the immediate costs of repair products but also potential future maintenance expenses.
Labor costs are another important aspect to consider. If you opt for professional services, rates may vary based on the technician’s experience and local market conditions. Understanding the time investment and expertise needed for the repair can help gauge whether a DIY approach or hiring a professional is more cost-effective. Evaluating all these elements will provide a clearer picture of what to expect financially when undertaking chip repairs in bathtub refinishing.
Budgeting for Repairs in Bathtub Refinishing
When planning for bathtub refinishing, understanding the costs associated with chip repair is essential. Each chip’s size and location can greatly affect the overall expense. Material costs vary based on the type of repair products chosen. Labor costs also come into play if hiring a professional, as their fees depend on experience and local market rates.
Setting a budget requires assessing these variables and potentially accounting for unexpected expenses. Researching reliable suppliers and professionals can provide estimates, which aid in realistic financial planning. Consider allocating a buffer for additional repairs that may arise during the refinishing process.
Conclusion
Chip repair in bathtub refinishing allows homeowners to restore the appearance and functionality of their tubs without the need for a full replacement. Understanding the steps involved, from color matching to the application of repair material, ensures a satisfactory and lasting finish. Proper maintenance following the repair further enhances the durability and aesthetics of the tub, making it a worthwhile investment.
Recognizing when to seek professional assistance can save time and prevent mistakes. Cost considerations also play a significant role in the decision-making process, emphasizing the need for careful budgeting. By taking a proactive approach to chip repair, homeowners can enjoy a rejuvenated bathtub that enhances the beauty and value of their bathroom.
FAQS
What is chip repair in bathtub refinishing?
Chip repair in bathtub refinishing involves fixing small nicks, scratches, or chips in the surface of a bathtub to restore its appearance and prolong its lifespan.
How do I match the color of my bathtub for repairs?
To match the color of your bathtub, you can take a sample to a home improvement store for assistance, use color-matching kits available for refinishing, or consult a professional for precise matching.
What materials are used for bathtub chip repair?
Common materials for bathtub chip repair include epoxy, acrylic, and specialized repair kits designed for the specific type of bathtub surface, such as porcelain or fiberglass.
How long does it take for the repair material to cure?
Curing times can vary based on the specific repair material used, but generally, you should allow at least 24 hours for the repair to fully cure before using the bathtub.
What steps should I take for maintenance after a chip repair?
After a chip repair, it’s important to avoid harsh chemicals, clean the surface with mild soap and water, and regularly check for any signs of new damage to ensure the longevity of the repair.