Grease is the reason many cabinet refinishing jobs fail before the new finish even goes on. Cabinets can look only mildly dirty, but years of cooking oils, hand residue, food splatter, and household cleaners leave behind a film that blocks primer and topcoat adhesion. If you are wondering how to clean kitchen cabinets before refinishing, the goal is not just to make them look cleaner. It is to create a surface the new finish can actually bond to.
That matters whether you are planning a DIY cabinet refresh or preparing for professional refinishing. A little extra care during cleaning can mean the difference between a smooth, durable result and a finish that peels, fisheyes, or wears unevenly.
Table of Contents
ToggleWhy cleaning matters before refinishing
Cabinet doors and frames collect more contamination than most homeowners realize. Areas around handles, edges near the stove, and upper cabinets above cooking surfaces usually have the heaviest buildup. Even if the cabinets are wood, laminate, or previously painted, that buildup can interfere with sanding, stain absorption, and paint or coating adhesion.
A quick wipe with soap and water is often not enough. Some residues are water-soluble, but kitchen grease usually needs a stronger degreasing approach. At the same time, cleaning too aggressively can damage veneer, soften older finishes, or force moisture into joints. The right approach is thorough but controlled.
How to clean kitchen cabinets before refinishing
Start by clearing the work area. Remove dishes, pantry items, and anything stored inside the cabinets if you plan to clean the interiors or remove the doors. Lay down floor protection, especially if you are using a degreaser. Then remove the hardware, including knobs, pulls, and hinges if possible. Label the doors and drawers as you go so reassembly is simple later.
Once the cabinets are accessible, begin with a dry cleaning step. Use a vacuum with a brush attachment or a soft microfiber cloth to remove loose dust, crumbs, and cobwebs. This keeps you from turning dry debris into muddy residue when liquid cleaner is applied.
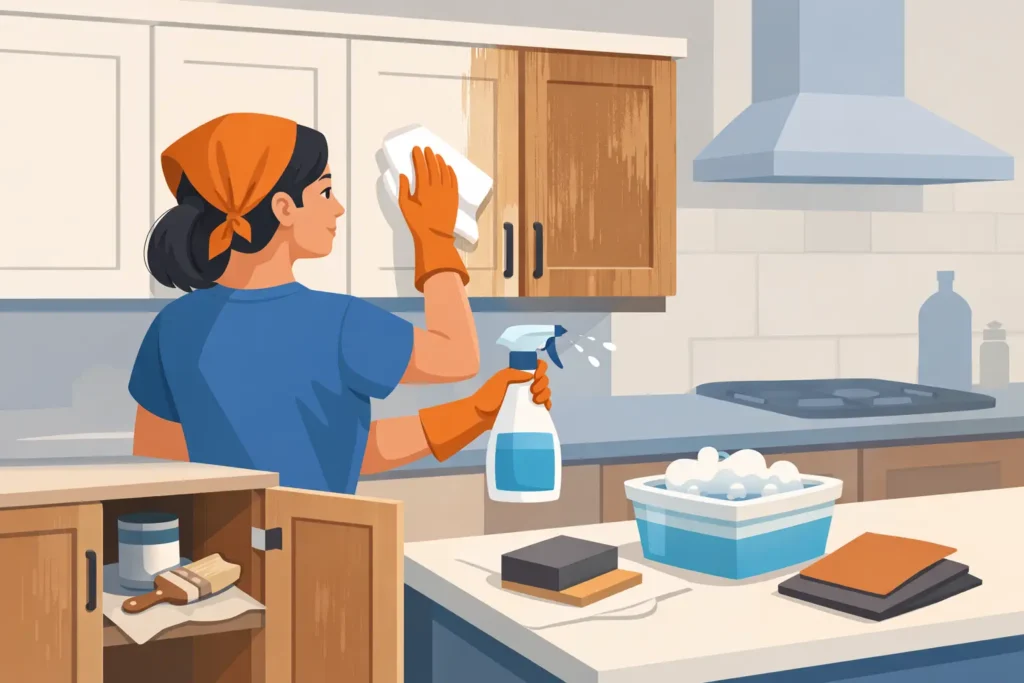
Next comes the main cleaning stage. For most cabinets, a dedicated degreasing cleaner or a mild solution designed for painted or finished wood works better than standard dish soap alone. Apply the cleaner to a cloth rather than soaking the cabinet surface directly. Wipe in sections, paying extra attention to high-touch and high-grease spots like rails, corners, drawer fronts, and the cabinet faces closest to the range.
If the buildup is heavy, let the cleaner sit briefly according to the product instructions, then wipe again with light pressure. A soft-bristle brush can help work cleaner into grooves or decorative profiles, but avoid anything abrasive that can scratch the surface. Steel wool and harsh scouring pads are a bad fit here, especially if you want a smooth refinishing base.
After degreasing, wipe the cabinets with a clean damp cloth to remove leftover cleaner residue. This step is often missed, but it matters. Residual cleaner can interfere with primer and paint just as much as grease can. Finish by drying the surfaces thoroughly with a clean towel.
Choosing the right cleaner
There is no single cleaner that fits every cabinet material and every level of grime. Painted wood cabinets, stained wood cabinets, laminate cabinets, and thermofoil surfaces can all react differently. If you are unsure, test the cleaner in a small hidden area first.
For light to moderate buildup, a gentle degreasing solution is usually enough. For heavier grease, especially near cooking areas, you may need a stronger product formulated to cut kitchen residue. The trade-off is that stronger cleaners need more careful rinsing and should never sit too long on delicate surfaces.
Avoid using bleach-heavy products, overly oily soaps, or wax-based cleaners before refinishing. Bleach can be unnecessarily harsh, oily products can leave behind residue, and wax creates one more adhesion problem to remove. If your cabinets have been polished over the years with furniture sprays or shine-enhancing products, expect extra cleaning time.
Areas homeowners commonly miss
The obvious flat surfaces get attention, but problem spots are usually found elsewhere. Cabinet edges, the area around handles, the underside of upper cabinets, and the narrow strip along face frames collect more oils from hands and cooking than people expect. These small sections can cause visible refinishing issues later because coatings tend to pull away from contaminated areas.
The inside edges of doors and drawer fronts also matter. Even if you are only refinishing the visible exterior, any area that may be lightly sanded, masked, or coated should be clean first. Missing these spots can lead to uneven prep and patchy results.
What to do after cleaning
Cleaning is not the last prep step. It is the foundation for the next one. Once the cabinets are fully dry, inspect the surfaces in good lighting. If you still see glossy grease smears, sticky spots, or dark residue on your cloth after wiping, clean those areas again.
After that, most refinishing projects move on to light sanding or surface abrasion, depending on the cabinet material and finish system being used. Sanding a dirty cabinet only pushes contaminants into the surface and clogs your sandpaper faster. Sanding a properly cleaned cabinet gives you a more even profile for primer or new finish to grip.
If you find chipped areas, swollen spots from moisture, or loose veneer after cleaning, address those before refinishing begins. Cleaning often reveals the true condition of the cabinets, which is useful. It helps you decide whether the cabinets are good candidates for refinishing or whether a repair step is needed first.
When DIY cleaning works and when professional prep makes more sense
Many homeowners can handle the cleaning stage themselves, especially if the cabinets are structurally sound and the buildup is moderate. If you are organized, patient, and willing to clean thoroughly rather than quickly, this part is manageable.
But some situations call for more than a standard wipe-down. Thick grease accumulation, layers of old polish, smoke residue, or failing previous coatings can make prep more complicated. In those cases, professional refinishing services can save time and reduce risk because the prep process is matched to the cabinet material and the finish being applied.
That is especially true if your goal is a smooth, long-lasting sprayed finish. Professional results depend heavily on prep quality, not just topcoat quality. At Bath Tub Reglazing Inc, that practical approach is central to restoration work. Refinishing is faster and more affordable than replacement, but only when the surface is prepared correctly from the start.
Mistakes to avoid before refinishing
One common mistake is using too much water. Cabinets are not meant to be soaked, and excessive moisture can swell wood fibers, loosen glue, or affect seams. Use a damp cloth, not a dripping one.
Another mistake is assuming visible cleanliness equals paint readiness. Cabinets can look clean while still holding a thin layer of grease. If water beads on the surface or your cleaning cloth comes away yellow or brown, keep going.
Skipping hardware removal is another problem. Cleaning around knobs and hinges leaves behind rings of grime that become obvious once the new finish is on. Removing the hardware takes longer up front but improves the final result.
Finally, avoid rushing from cleaning straight into priming. Surfaces need time to dry fully, especially around panel edges, joints, and detailed trim. A dry surface gives you a more reliable bond and fewer finish defects.
A cleaner surface leads to a better finish
Refinishing cabinets is one of the most effective ways to update a kitchen without the cost and disruption of replacement, but the finish is only as good as the prep underneath it. Knowing how to clean kitchen cabinets before refinishing helps you avoid the most common cause of adhesion failure and gives your new finish a fair chance to last.
If you take the time to remove grease, residue, and cleaner buildup properly, every step that follows gets easier. The sanding is cleaner, the primer bonds better, and the final look is smoother and more consistent. That kind of prep may not be the most visible part of the project, but it is the part that makes the visible transformation possible.