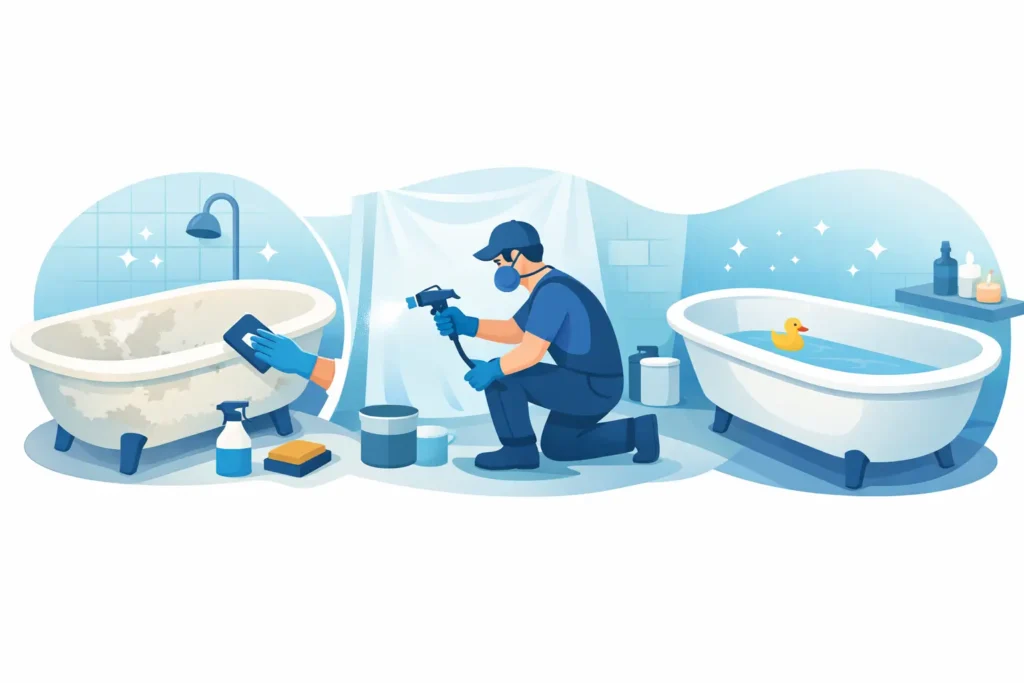
A stained, chipped, or faded tub can make the whole bathroom feel older than it is. This bathtub reglazing process guide explains what actually happens during professional refinishing, how long it takes, and why many homeowners choose it instead of tearing out a perfectly usable tub.
For most people, the appeal is simple. Reglazing gives you a cleaner, newer-looking bathtub without demolition, replacement costs, or days of disruption. If your tub is structurally sound but looks worn, refinishing can be one of the fastest ways to improve the room.
Table of Contents
ToggleWhat the bathtub reglazing process guide should help you answer
Before scheduling service, most homeowners want clear answers to a few practical questions. Will the finish really look new? How messy is the job? How long will the tub be out of use? And is refinishing a smart investment compared to replacement?
A good bathtub reglazing process guide should answer those questions without overcomplicating the work. The process is technical, but the decision usually comes down to value, convenience, and results. If your tub has surface damage, discoloration, mineral staining, or an outdated finish, reglazing may be the right fit. If the tub has major structural problems, active leaks, or severe movement, replacement may make more sense.
That distinction matters. Reglazing improves the surface. It does not fix every problem underneath it.
What bathtub reglazing actually is
Bathtub reglazing, also called refinishing or resurfacing, is the process of restoring the visible surface of an existing tub. Rather than removing the fixture, a technician cleans, repairs, prepares, and coats it with specialized bonding agents and finish materials designed to create a smooth, renewed appearance.
The goal is not to hide damage temporarily. The goal is to create a durable new surface layer that looks clean, bright, and updated. Professional reglazing can often be completed in a day, which is one reason it is so attractive to busy homeowners and property owners.
The biggest advantage is practical. You keep the existing tub, avoid demolition, and still get a major visual improvement.
The bathtub reglazing process guide, step by step
While materials and exact methods can vary by tub condition and product system, the professional process usually follows the same sequence.
1. Inspection and job setup
The first step is evaluating the tub itself. A technician checks for chips, rust areas, previous coatings, cracks, caulk lines, and any signs that the tub may not be a good candidate for refinishing. A heavily damaged surface can often still be repaired, but there are limits.
Once the tub is confirmed for service, the work area is protected. Floors, walls, fixtures, drains, and nearby surfaces are masked off to keep the coating contained. Ventilation equipment is also set up to help manage fumes and support proper application.
This prep stage is easy to overlook, but it has a big effect on the final result. A clean, controlled work area helps produce a cleaner finish.
2. Deep cleaning and contaminant removal
Before any coating can bond correctly, the tub must be thoroughly cleaned. Soap scum, body oils, hard water deposits, waxes, and residue from household cleaners can all interfere with adhesion.
This is more than a standard bathroom cleaning. Professional prep is designed to remove buildup that may not even be visible. If contamination is left behind, the new finish can fail early, peel, or cure unevenly.
For homeowners, this is one of the clearest differences between a professional reglazing service and a quick cosmetic fix. Surface prep is where a lot of the real value lives.
3. Surface sanding or etching
Once the tub is clean, the surface is mechanically or chemically prepared so new coatings can bond properly. Depending on the tub material and condition, this may involve sanding, acid etching, or both.
The purpose is straightforward. The existing surface needs the right texture and profile for strong adhesion. Too smooth, and the coating may not hold. Too damaged, and repairs may show through if they are not handled correctly.
This step also helps remove stubborn staining and minor surface imperfections that cleaning alone cannot solve.
4. Repairs to chips, pits, and worn areas
If the tub has chips, pitting, small cracks, or worn spots, those areas are repaired before the finish coat is applied. Fillers and repair materials are used to rebuild damaged sections, then sanded smooth so the final surface looks even.
This is where experience matters. A tub can be freshly coated, but if the repairs underneath are rushed, the finished result can still look uneven under bathroom lighting. A good reglazing job should improve both the color and the texture of the tub.
Not every tub has major damage, but most older tubs need at least some repair work before coating.
5. Bonding agents and primer application
After prep and repairs are complete, bonding agents or primer systems are applied. These products help create the connection between the old tub surface and the new finish.
Different tubs may require different coating systems, especially when refinishing porcelain, fiberglass, cast iron, or acrylic. That is why product selection should match the specific fixture rather than follow a one-size-fits-all approach.
For homeowners, the main takeaway is simple. Strong adhesion does not happen by accident. It comes from proper prep and the right materials.
6. Topcoat application
This is the stage people picture most often. The final coating is sprayed to create a smooth, uniform finish that restores the look of the tub. In many cases, white remains the most popular choice, but color options may also be available depending on the project.
A professional topcoat should look even, glossy, and clean. Application technique matters here. If the coating is too heavy, it can run. If it is too light, coverage may be inconsistent. Temperature, humidity, and curing conditions also affect the result.
This is one reason professional reglazing usually outperforms store-bought DIY kits. The materials, setup, and application process are far more controlled.
7. Drying and curing
After the finish is applied, the tub needs time to dry and cure before use. Dry-to-touch and ready-to-use are not the same thing. Most tubs can return to service relatively quickly, but the exact timeline depends on the product used, room conditions, and technician recommendations.
Homeowners should follow care instructions closely during this stage. Using the tub too soon or exposing it to the wrong cleaners early on can affect the finish.
How long the process usually takes
In many cases, professional bathtub reglazing can be completed in a single day. That makes it much faster than replacement, which often involves demolition, plumbing adjustments, tile work, disposal, and follow-up repairs.
The total project time depends on the condition of the tub. A straightforward refinishing job moves faster than one with heavy staining, rust repair, or multiple previous coatings that need extra preparation. Even so, reglazing is usually the faster option by a wide margin.
For homeowners balancing budgets, schedules, and household routines, that shorter turnaround can be just as important as the lower price.
What results you should expect
A professionally reglazed tub should look noticeably cleaner, brighter, and more current. It can update the feel of the whole bathroom without changing the layout or replacing surrounding materials.
That said, expectations should stay realistic. Reglazing restores an existing tub. It does not turn an old fixture into a brand-new factory product. If the tub has deep structural issues or surrounding tile and plumbing are also outdated, refinishing may improve the centerpiece without solving every visual issue in the room.
Still, for many homeowners, that is enough. A refreshed tub often delivers the biggest visible improvement for the least disruption.
How to make the new finish last
Aftercare matters. Even a high-quality refinished surface needs the right maintenance. Gentle, non-abrasive cleaning products are usually recommended. Harsh chemicals, suction-cup mats, abrasive pads, and leaving soap bottles sitting on the surface can shorten the life of the finish.
It also helps to fix dripping faucets promptly. Constant water exposure in one area can wear on the coating over time.
When the tub is properly cared for, reglazing can offer lasting value. When it is treated like an indestructible construction surface, wear tends to show sooner.
When reglazing makes sense and when it does not
Reglazing is often the right choice when the tub is worn, stained, chipped, or simply dated, but still structurally usable. It is especially appealing for homeowners who want a fast, affordable, eco-friendly update without major construction.
It may not be the best choice when the tub is shifting, leaking, severely cracked, or part of a larger bathroom problem that already requires removal. In those cases, refinishing can delay a replacement that is already necessary.
That is why an honest assessment matters more than a quick sales pitch. A dependable refinishing specialist should tell you when reglazing is a strong option and when another solution would serve you better.
For homeowners who want visible improvement without demolition, the process is refreshingly practical. A well-executed reglazing job can restore the tub you already have, cut down on renovation stress, and make the bathroom feel newer far sooner than most people expect.