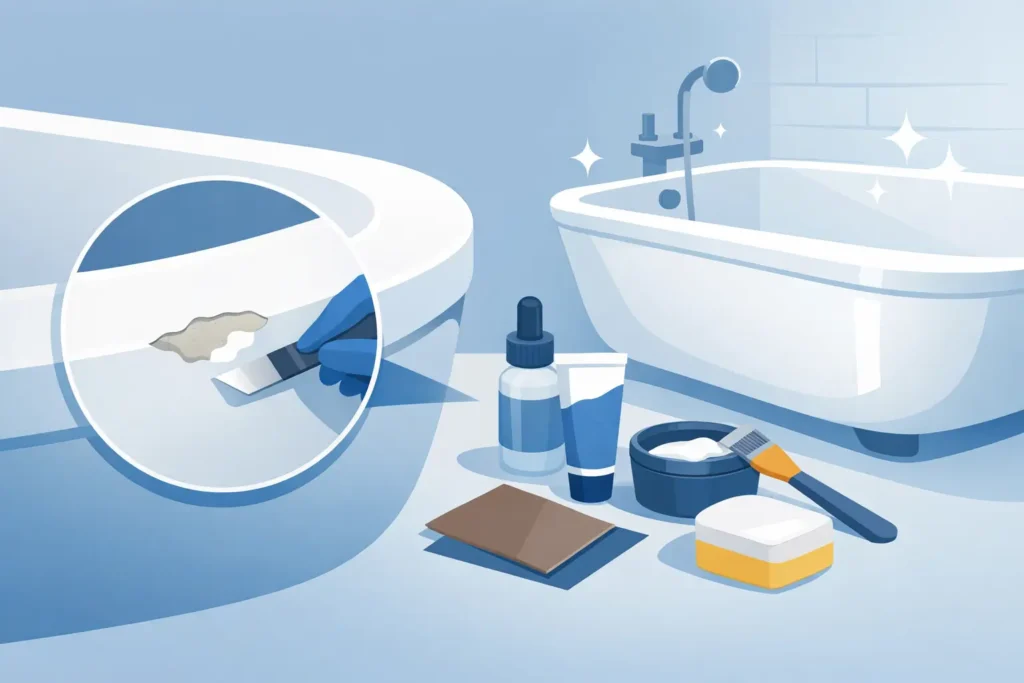
A small chip in a bathtub has a way of looking worse every time you walk into the bathroom. What starts as a nick in the finish can quickly collect dirt, expose dark material underneath, and make the entire tub feel older than it is. If you are wondering how to restore chipped bathtub damage without jumping straight to a full replacement, the good news is that you usually have options.
The right fix depends on the size of the chip, the tub material, and the condition of the surrounding finish. Some chips can be repaired with a quality touch-up kit. Others are a sign that the surface is wearing out and needs professional refinishing to look uniform again. Knowing the difference can save you money, time, and frustration.
Table of Contents
ToggleWhat causes bathtub chips in the first place?
Bathtubs chip for simple reasons. A dropped shampoo bottle, a metal drain tool, a heavy cleaning caddy, or years of wear on an older finish can all lead to damage. Porcelain and enamel tubs are especially vulnerable to impact chips, while fiberglass and acrylic tubs can crack, gouge, or flake if the surface has become weak.
In many homes, the visible chip is only part of the issue. The surrounding finish may already be dull, scratched, stained, or thin. That matters because repairing one small spot on an otherwise worn-out tub often leaves you with one clean patch and a tub that still looks tired overall.
How to restore chipped bathtub damage the right way
If the damage is minor and limited to one or two small spots, a DIY repair may be worth trying. The goal is not just to fill the chip. It is to create a smooth, sealed surface that blends with the tub and holds up to regular use.
Step 1: Clean the area completely
Any soap film, body oil, rust, or hard water residue left around the chip can interfere with adhesion. Clean the damaged area thoroughly with a non-waxy bathroom cleaner, then rinse and dry it fully. If the chip has any loose edges or flaking material, remove them carefully so the repair material can bond to a stable surface.
Step 2: Lightly sand the damaged spot
Use fine-grit sandpaper to smooth rough edges around the chip. You are not trying to remove the surrounding finish. You are just evening out the damaged area so the filler or repair compound can sit properly. Wipe away dust with a clean cloth and make sure the area is dry before moving on.
Step 3: Apply the repair compound
Most bathtub chip repair kits include an epoxy or filler designed for porcelain, enamel, acrylic, or fiberglass. Match the kit to your tub material whenever possible. Apply a small amount into the chip, keeping it level with the surrounding surface. It is better to build carefully than to overfill and create a raised bump.
Follow the product directions closely here. Drying and curing times vary, and rushing this part is one of the main reasons DIY bathtub repairs fail early.
Step 4: Sand and blend after curing
Once the repair compound has cured, lightly sand it until it feels smooth and even. The surface should not catch your fingernail or feel rough at the edges. A good repair is as much about touch as appearance.
This is also the point where many homeowners notice the biggest challenge. Even if the chip is filled well, the color match may not be exact. White tubs alone come in several shades, and older finishes often fade over time.
Step 5: Apply touch-up finish if needed
Some repair kits include a topcoat designed to improve color and gloss. Apply it carefully and let it cure fully before using the tub. If the repair is in a highly visible area, such as the bottom of the tub or near the front edge, appearance matters just as much as function.
A decent DIY repair can make a small chip less noticeable and protect the tub from moisture getting into the damaged area. It may not make the chip disappear completely.
When a DIY bathtub chip repair makes sense
DIY repair works best when the chip is small, isolated, and the rest of the tub is still in good condition. If your bathtub finish is smooth, the color still looks consistent, and the damage is no larger than a coin, a repair kit can be a practical short-term or even medium-term solution.
This approach also makes sense for homeowners preparing a bathroom for sale or trying to improve appearance without taking on a larger project right away.
The trade-off is durability and appearance. Store-bought repair kits can help, but they rarely deliver the same smooth finish, color consistency, or longevity as a professionally restored surface.
When chipped damage points to a bigger refinishing need
A single chip is one thing. Multiple chips, staining, peeling, rust marks, rough texture, or discoloration usually mean the tub needs more than a spot repair. In those cases, patching isolated areas often creates a pieced-together look.
Professional bathtub refinishing addresses the whole surface, not just the damaged spot. The tub is cleaned, prepped, repaired, and coated so the final result looks uniform. That is usually the better route when homeowners want visible transformation instead of a temporary fix.
For many households, refinishing is the middle ground that makes the most sense. It avoids the demolition, plumbing changes, and replacement costs of installing a new tub, while still giving the bathroom a cleaner, updated appearance.
Why professional restoration often delivers better value
Homeowners sometimes assume replacement is the only real fix for a chipped bathtub. In practice, that is often the most disruptive and expensive option. Removing a tub can involve tile work, plumbing adjustments, wall repair, hauling, and installation delays.
Professional reglazing or refinishing is usually faster and far more cost-effective. It restores the look of the existing tub, covers chips and worn finishes, and extends the life of the fixture without tearing the bathroom apart.
That is why many homeowners choose refinishing services from specialists such as Bath Tub Reglazing Inc. The appeal is simple: a cleaner, more modern-looking tub without the mess and cost of a full remodel.
Common mistakes to avoid when restoring a chipped tub
One mistake is using the wrong repair product for the tub material. Porcelain, fiberglass, and acrylic surfaces do not all respond the same way. Another is skipping prep work. If the surface is not cleaned and sanded properly, the repair may peel, crack, or discolor quickly.
Overfilling the chip is another common issue. A repair that sits above the surrounding surface draws attention and feels uneven underfoot. So does rushing the cure time. Even if the patch feels dry, it may not be ready for water exposure or cleaning products.
There is also the question of expectations. If the tub has years of wear, one touch-up will not make the whole fixture look new. That is where many DIY efforts fall short. The repair may technically work, but the bathroom still does not feel improved.
How long does a bathtub chip repair last?
It depends on the severity of the damage, the material of the tub, and how well the repair was done. A small, carefully repaired chip in a lightly used guest bathroom may hold up well. A patch in a heavily used family bathroom may wear faster, especially if harsh cleaners are used.
Professional refinishing tends to last longer because the process is more controlled and the coatings are designed for full-surface restoration. That does not mean every tub needs refinishing right away. It means the best option depends on the condition of the tub and the result you want.
If your priority is simply stopping further damage, a small repair may be enough. If your priority is making the tub look refreshed and consistent again, refinishing is usually the better investment.
Keeping a restored bathtub in good shape
Once the chip is repaired or the tub is refinished, maintenance matters. Use non-abrasive cleaners, avoid steel wool or harsh scrub pads, and do not leave metal cans or tools sitting on the tub surface. Bath mats with suction cups can also damage some refinished surfaces, so it is best to follow care instructions closely.
A restored tub does not need complicated maintenance. It just benefits from gentle cleaning and a little more care than a neglected surface usually gets.
Choosing the fix that makes sense for your bathroom
If you are deciding how to restore chipped bathtub damage, start by looking at the full picture. Is the chip small and isolated, or is it part of a tub that already looks worn out? Do you need a quick touch-up, or do you want the bathroom to look noticeably better when the job is done?
That is really the difference. A minor repair can solve a minor problem. But when the surface is chipped, stained, dull, or dated, professional refinishing often gives homeowners the result they were hoping for in the first place.
A chipped tub does not always need to be replaced. Sometimes it just needs the right level of restoration so the bathroom feels clean, cared for, and worth walking into again.