Table of Contents
ToggleKey Takeaways
- Resolving Air Pockets in the Finish – Managing Epoxy Coating Contraction
- Dealing with Humidity When Applying Epoxy – Fixing Scratches on Epoxy Finishes
- Tackling Inadequate Hardening Issues – Improving the Longevity of Epoxy Coatings
- Recognizing the Right Time for Refinishing –
Steps for Effective Crack Repair
Identifying and assessing the crack is the first step in effective repair. Clean the area thoroughly using a solvent to remove any contaminants such as grease or soap scum. This ensures good adhesion during the repair process. After the area is clean, allow it to dry completely. Evaluate the size and depth of the crack to determine the appropriate repair method.
Next, apply a suitable epoxy filler designed for bathtub refinishing. Carefully follow the manufacturer’s instructions regarding mixing and application. Use a putty knife to insert the filler into the crack, ensuring it is packed tightly without air bubbles trapped inside. Smooth out the surface to create an even finish, blending it with the surrounding area. After the epoxy has cured according to the specifications, sand the repair lightly for an even texture, making it ready for final refinishing.
Troubleshooting Bubbles in the Coating
Bubbles in the epoxy coating can significantly mar the final appearance and performance of a refinished bathtub. These imperfections often occur during application due to air being trapped in the mixture or on the surface of the bathtub. Inadequate surface preparation, such as not cleaning or sanding properly, can exacerbate this problem. Ensuring that the substrate is thoroughly cleaned and free of dust and contaminants is essential for achieving a smooth finish.
Humidity and temperature can also play a role in bubble formation. Applying epoxy in humid conditions can introduce moisture into the coating, leading to bubbling as the epoxy cures. To combat this issue, it’s recommended to work in a controlled environment whenever possible. Using smaller mixing containers can help minimize the introduction of air while stirring. Additionally, applying the epoxy in thin layers can contribute to a more even cure, reducing the likelihood of bubbles forming.
Causes and Prevention Methods
Bubbles in epoxy coatings often arise from trapped air during the application process. Improper mixing of the epoxy components can introduce air bubbles into the mixture, leading to a problematic finish. Additionally, environmental factors such as high humidity or temperature fluctuations can exacerbate this issue, causing moisture to get trapped within the layers of the coating. Ensuring that the workspace is adequately ventilated and maintaining consistent temperature conditions can help minimize the risk of bubble formation.
To prevent bubbles from forming in the first place, careful attention to mixing techniques is essential. Using a slow mixing speed while combining the resin and hardener can allow air to escape before application. Employing a heat gun or similar tool can also assist in eliminating surface bubbles right after the epoxy is poured. Additionally, following manufacturer guidelines regarding pot life and application time will ensure that the epoxy is used effectively, reducing the chances of bubbles disrupting the finish.
| Cause of Bubbles | Prevention Method | Tools Suggested |
|---|---|---|
| Trapped air during application | Use slow mixing speed | Mixing drill with a paddle |
| Improper mixing of components | Thoroughly mix resin and hardener | Measuring cups |
| High humidity or temperature fluctuations | Maintain consistent temperature | Thermometer & hygrometer |
| Moisture trapped within layers | Ensure proper ventilation | Fans or dehumidifiers |
Handling Epoxy Coating Shrinkage
Shrinkage in epoxy coatings can affect both the appearance and functionality of a refinished bathtub. This issue often results from temperature fluctuations during the curing process. When epoxy is applied, it undergoes a chemical reaction that produces heat. If the ambient temperature changes too rapidly, it can lead to uneven curing. This creates stress within the coating, resulting in visible shrinkage or cracking. Proper temperature control during application and curing can significantly mitigate these risks.
To effectively manage shrinkage, it is crucial to follow manufacturer guidelines regarding mixing ratios and application thickness. Adequate surface preparation also plays a significant role in preventing shrinkage. Ensuring the bathtub surface is clean and properly primed allows for better adhesion and reduces the likelihood of future issues. When ambient conditions are not ideal, considering the use of heat lamps or other methods to maintain a consistent temperature can help achieve a more reliable cure and reduce shrinkage potential.
Tips for Proper Mixing Techniques
Achieving a uniform epoxy mixture is crucial for a successful application. Start by using a clean, dry container free from any contaminants. Measure the resin and hardener carefully, following the manufacturer’s recommendations. It’s important to mix the components thoroughly to ensure they bond effectively. Utilize a clean mixing stick and scrape down the sides of the container frequently to avoid unblended material.
Avoid mixing large batches at once, as the epoxy can begin to cure before you apply it. Smaller quantities are often easier to work with and allow for better control during the application process. Stir the mixture slowly to minimize introducing air bubbles, which can compromise the finish. Once the components are well blended, let the mixture sit for a few minutes to allow any trapped air to escape before application.
Working with Epoxy in Humid Climates
Humidity can significantly impact the application and performance of epoxy coatings. High moisture levels in the air can hinder proper curing. When humidity exceeds recommended levels, it can lead to extended drying times and increased risk of imperfections like bubbles or surface defects. To mitigate these challenges, it’s essential to check weather forecasts and choose a day with lower humidity for the refinishing process. Proper ventilation can also help facilitate evaporation and improve curing conditions.
Adjustments in the epoxy mixture may be necessary when working in damp conditions. Using a slow-hardening formulation can provide the extra time needed to apply the coating while avoiding premature curing. Ensuring that the surface is dry before application is crucial. Equipment and tools should also be kept in a controlled environment to prevent condensation buildup. This approach helps to create a robust and durable finish that will withstand the challenges posed by humidity.
Adjustments for Optimal Application
Achieving optimal application of epoxy coatings requires attention to environmental conditions and precise preparation methods. Ideally, the ambient temperature should be between 70°F and 80°F for best results. This range promotes a balanced chemical reaction, enhancing the curing process. Humidity levels should also be monitored, as excessive moisture can interfere with adhesion, leading to potential bubbles and inconsistencies. Using a dehumidifier or space heater can help control the environment to ensure more favorable conditions.
Surface preparation plays a critical role in the outcome of the application. Thorough cleaning and sanding of the bathtub surface remove any contaminants that could affect adhesion. The use of a primer can provide an additional layer of protection and improve bonding. Mixing the epoxy components according to the manufacturer’s instructions is essential for achieving the right consistency. A uniform mix ensures that the coating cures properly and results in a durable, long-lasting finish.
Repairing Scratches on Epoxy Surfaces
Scratches on epoxy surfaces can detract from their appearance and compromise their protective qualities. To effectively repair these blemishes, start by cleaning the area thoroughly to remove any dust or debris. Assess the depth of the scratches to determine if simple polishing might suffice. For shallow scratches, using a fine-grit sandpaper followed by a polishing compound can restore the surface’s sheen.
In cases of deeper scratches, additional steps may be necessary. Applying an epoxy filler specifically designed for repairs can create a smooth finish. Once the filler is applied and cured, sanding it flush with the surrounding area is crucial. Finally, applying a top coat of clear epoxy will provide a consistent look and extra protection against future damage.
Tools and Techniques for Scratch Removal
Removing scratches from epoxy surfaces requires specific tools and techniques for effective results. Begin with a fine-grit sandpaper, typically between 400 to 600 grit. Gently sand the scratched area, ensuring that you keep the sanding uniform to prevent further damage. Use a sanding block to maintain even pressure and avoid creating additional grooves. After sanding, switch to a polishing compound designed for epoxy finishes. A foam applicator or a clean cloth can help apply the compound, bringing back the shine.
In addition to sanding and polishing, using a specialized epoxy repair kit can be beneficial for deeper scratches. These kits often contain resin that matches the original epoxy finish, allowing for seamless repairs. Carefully follow the manufacturer’s instructions when mixing and applying the resin. After the application, allow ample time for curing before using the surface again to ensure durability. Regular maintenance and prompt attention to scratches can prolong the life of your epoxy coating.
Addressing Poor Curing Problems
Poor curing is a common issue that can compromise the longevity and appearance of an epoxy-coated surface. Factors such as incorrect mixing ratios, low temperatures, or high humidity can hinder the hardening process. It’s critical to follow the manufacturer’s guidelines regarding the mixing and application conditions. Ensuring that both components of the epoxy are thoroughly mixed can help prevent problems associated with incomplete curing.
Another essential aspect is to monitor the environmental conditions during and after application. A warmer, drier environment is often conducive to better curing outcomes. If high humidity is unavoidable, using dehumidifiers or heating lamps may aid in achieving proper drying. Regular checks on temperature and humidity can ensure that the epoxy maintains an appropriate setting environment, ultimately leading to a more durable finish.
Factors Contributing to Incomplete Curing
Incomplete curing of epoxy coatings can arise from several factors that often go unnoticed during the application process. One primary reason is inadequate mixing of the resin and hardener. Even slight imbalances can hinder the chemical reaction necessary for the epoxy to harden properly. Additionally, temperature plays a critical role; if the environment is too cold, the curing process slows significantly, leading to a compromised finish.
Humidity levels also impact the curing process. Excess moisture in the air can cause the epoxy to absorb water, resulting in soft spots and an uneven texture. Dust and contaminants settling on the surface while curing can lead to defects, making it crucial to maintain a clean working environment. Awareness of these elements can guide refinishing projects toward successful outcomes, ensuring the epoxy adheres and cures effectively.
Enhancing the Durability of Epoxy Coatings
Selecting high-quality products significantly impacts the longevity of epoxy coatings. When choosing materials, look for brands with a proven track record. Consider options that offer excellent resistance to chemicals and wear. Some manufacturers provide specific formulations designed for high-traffic areas or harsh environments. Understanding your specific project requirements can help in making an informed choice.
Proper application methods also play a crucial role in durability. Ensuring the surface is thoroughly prepared is essential for adhesion. Follow the manufacturer’s guidelines regarding mixing ratios and application techniques. Avoid shortcuts during the preparation and application process. This attention to detail contributes to a stronger bond and a longer-lasting finish. Regular maintenance can further enhance the performance of the coating.
Selecting High-Quality Products
Choosing the right products is essential for successful epoxy coating in bathtub refinishing. High-quality epoxy formulations often contain better resins and hardeners that contribute to a more durable finish. Manufacturers that provide detailed specifications and performance data are worth considering. Look for those that offer warranties or guarantees, as this reflects confidence in their product’s longevity and effectiveness.
Additionally, it is vital to invest in appropriate application tools. Brushes, rollers, and sprayers designed for epoxy use can significantly influence the final result. These tools help achieve a smooth and even finish. Checking reviews and insights from professionals can also guide selection. Ultimately, investing in premium materials and tools can prevent common issues and enhance the overall look and performance of the finished product.
- Research reputable brands known for their quality epoxy products.
- Read customer reviews and professional recommendations before making a purchase.
- Consider the specific needs of your project, such as color options and drying time.
- Ensure that the application tools are specifically designed for use with epoxy coatings.
- Check for safety data sheets (SDS) and application instructions from the manufacturer.
- Look for products with low VOC (volatile organic compounds) to reduce harmful emissions.
- Compare prices and consider the value of long-term performance versus initial cost.
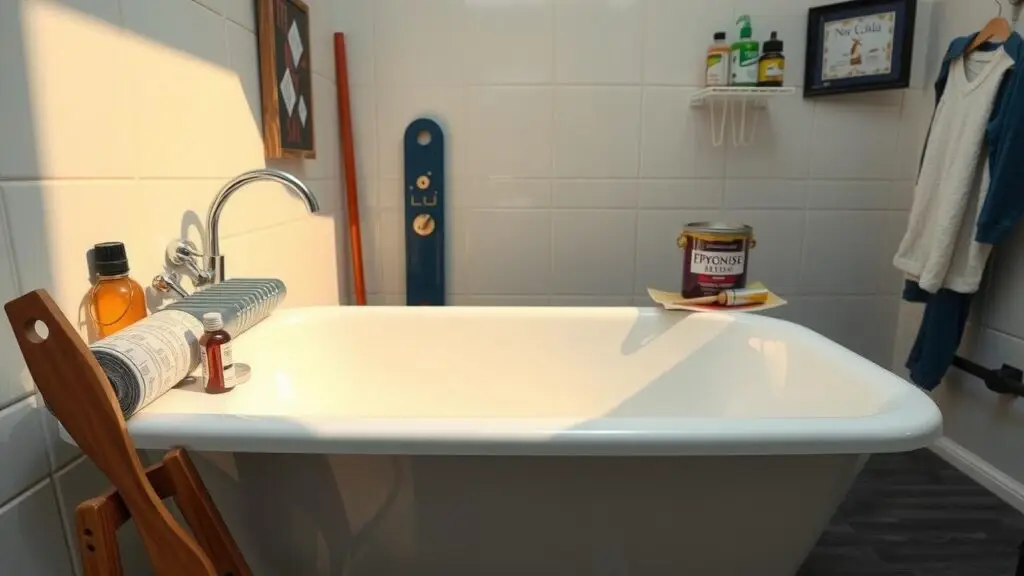
Knowing When to Refinish
Bathtub surfaces endure significant wear and tear over time. Observing surface imperfections such as deep scratches, fading color, or loss of gloss can indicate that refinishing is necessary. Additionally, if water begins to pool in certain areas or if there are visible signs of chipping, it may be time to consider a new coating. These signs not only affect the aesthetics of the bathtub but can also lead to more serious issues, such as leaks or mold growth.
Regular inspections can help identify when refinishing is needed. Homeowners should also pay attention to the overall functionality of the bathtub. If cleaning becomes increasingly difficult due to discoloration or a lack of smoothness, refinishing could restore both appearance and ease of maintenance. Taking action when these indicators become apparent will prolong the lifespan of the bathtub and ensure it remains in good condition.
Signs Indicating the Need for Reapplication
An epoxy coating can experience wear and tear over time, making it essential for homeowners to monitor its condition. Visible signs such as cracking, peeling, or fading indicate that the finish may need to be refreshed. Additionally, any discoloration or yellowing can signal degradation in the coating, possibly due to exposure to harsh chemicals or UV light. Addressing these issues promptly can prevent further damage and maintain the aesthetic appeal of the bathtub.
Another way to assess the condition of the epoxy is to check for surface imperfections like chips or scratches. If the coating begins to feel rough or no longer provides a smooth surface, these can impact both the appearance and function of the bathtub. Regular inspections can help catch these issues early, allowing for timely reapplication and ensuring a long-lasting, durable surface.
Conclusion
Addressing epoxy coating issues in bathtub refinishing is crucial for achieving a long-lasting and aesthetically pleasing finish. Proper troubleshooting methods can significantly enhance the quality of the work, ensuring that complications such as bubbles, shrinkage, or scratches are effectively managed. Adhering to best practices in mixing, application, and environmental considerations further contributes to successful results.
Understanding the signs that indicate when refinishing is necessary can prevent further damage and prolong the lifespan of the finish. By maintaining a focus on quality materials and techniques, individuals can ensure a durable, resilient coating that stands the test of time. Regular inspection and timely intervention help preserve the appearance and functionality of the newly refinished surfaces.
FAQS
What are common causes of bubbles in epoxy coatings?
Common causes of bubbles in epoxy coatings include improper mixing, applying the coating in high humidity or extreme temperatures, and using low-quality products.
How can I effectively repair cracks in my epoxy-coated bathtub?
To repair cracks in an epoxy-coated bathtub, clean the area thoroughly, use an appropriate epoxy filler, and follow the manufacturer’s instructions for application and curing times.
What steps can I take to prevent shrinkage in my epoxy coating?
To prevent shrinkage in epoxy coating, ensure proper mixing ratios, apply the coating in suitable environmental conditions, and avoid over-application.
How do I know when it’s time to refinish my bathtub?
Signs indicating the need for reapplication include visible scratches, peeling or chipping of the coating, and a dull appearance that doesn’t restore with cleaning.
What tools are recommended for removing scratches from epoxy surfaces?
Recommended tools for scratch removal include fine-grit sandpaper, a polishing compound, and a soft cloth to buff the surface after repair.